
In today’s fast-paced digital world, website performance plays a crucial role in attracting and retaining visitors. Maximizing the performance of your WordPress site is essential for a seamless user experience. In this article, we’ll explore the power of server-side analytics and how it can help optimize your WordPress site for better speed and performance.
Understanding Server-Side Analytics
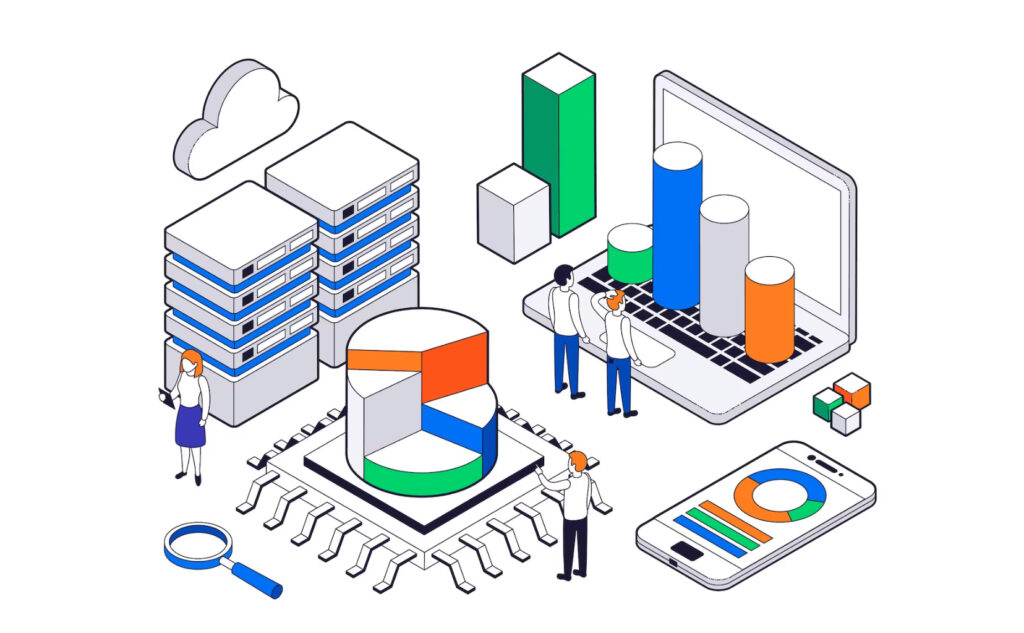
Server-side analytics involves tracking and analyzing website performance data at the server level rather than relying solely on client-side methods. It captures valuable data points such as page load times, server response times, and resource usage. By tracking these metrics, you gain deeper insights into your site’s performance.
Benefits of server-side analytics for WordPress sites:
- Accurate data: Server-side analytics provides accurate data as it bypasses client-side limitations such as ad-blockers or script blockers.
- Improved privacy compliance: Server-side analytics is less reliant on cookies and respects user privacy regulations.
- Better performance insights: With server-side analytics, you can gather precise performance data, enabling you to identify bottlenecks and optimize your site accordingly.
Steps to Maximize WordPress Site Performance with Server-Side Analytics
Step 1: Choose a server-side analytics platform
Select a robust server-side analytics platform that integrates well with WordPress. Look for features such as real-time tracking, customizable dashboards, and comprehensive performance reports.
Step 2: Set up server-side tracking
Configure your chosen analytics platform by following their setup instructions. This typically involves installing a tracking code or plugin on your WordPress site and connecting it to your analytics account.
Step 3: Optimize your WordPress site
To improve your site’s performance, implement the following optimizations:
- Optimize images: Compress and resize images to reduce their file size without compromising quality. Use image optimization plugins or online tools to streamline this process.
- Minify CSS and JavaScript files: Reduce the file size of CSS and JavaScript files by removing unnecessary spaces, line breaks, and comments. WordPress plugins like Autoptimize can automate this task.
- Enable caching: Leverage browser caching by configuring caching settings on your WordPress site. Caching stores static files locally, allowing faster page load times for returning visitors.
- Use a content delivery network (CDN): Utilize a CDN to distribute your site’s static content across multiple servers worldwide. This reduces server load and minimizes latency for visitors.
Step 4: Monitor and analyze website performance
Regularly monitor your website’s performance using the analytics platform you’ve chosen. Pay attention to key metrics such as page load times, server response times, and resource utilization. Use the insights gained to identify areas for improvement and take necessary actions, such as optimizing specific pages or upgrading your hosting plan.
Conclusion
Optimizing the performance of your WordPress site is crucial for providing a seamless user experience and achieving your online goals. By leveraging server-side analytics, you can gather accurate performance data and make informed decisions to enhance your site’s speed and efficiency. Follow the steps outlined in this article to choose the right analytics platform, set up tracking, optimize your WordPress site, and continuously monitor performance. By implementing these strategies, you’ll be well on your way to maximizing your WordPress site’s performance and delivering a top-notch user experience.